Manage Headers
Instance-Level Headers
Some APIs require custom non-auth related HTTP headers—such as a static cookie, or a unique value like x-base-directory: /foo/bar—on every request. Previously, you had two work-arounds:
- Attach the header to each authentication.
- Not ideal, because our automated tests can override or remove authentication values.
- Add the header to every endpoint.
- Manageable for a handful of endpoints, but painful (and error-prone) for APIs with hundreds or thousands of endpoints.
Instance-level headers eliminate that overhead.
Define a header once at the instance level and it’s automatically sent with all/selected endpoints, independent of authentication. You can also enable the “Enable for Reachability Tests” option for a header. This ensures it’s included in the very first “base path” check (for example https://api.example.com)—before any endpoint or authentication is used. This is helpful when infrastructure such as load balancers requires a specific header to respond correctly.
Add Header
-
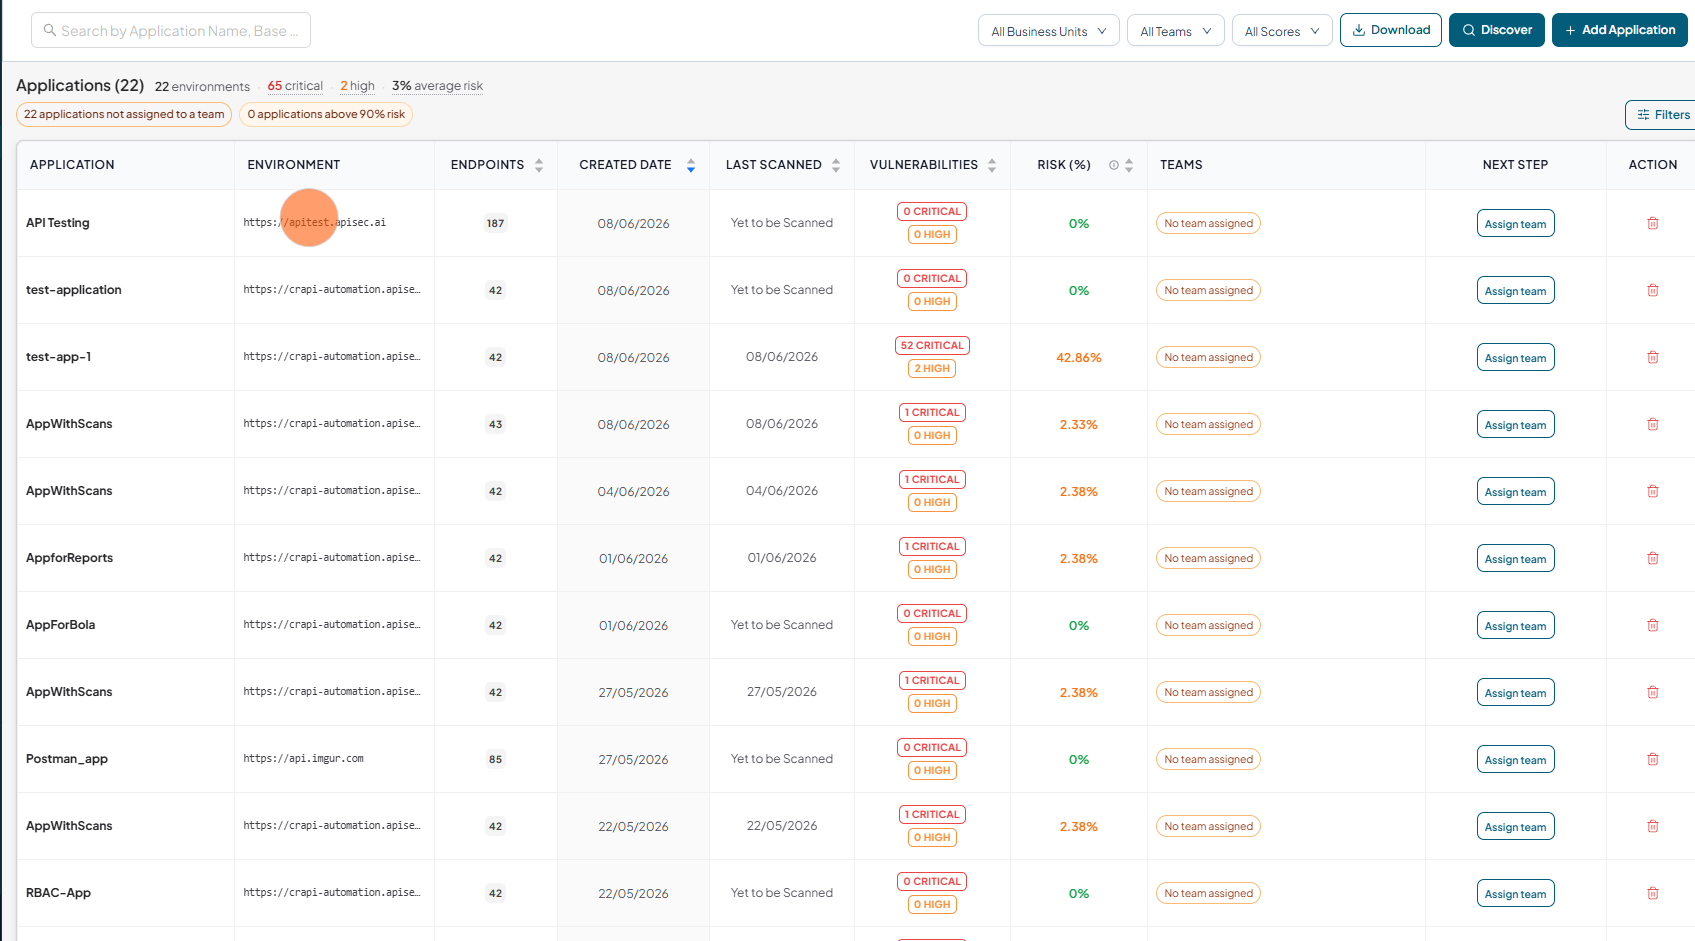
Open your browser and visit: https://<your-tenant>.apisecapps.com
-
Click the required application.
-
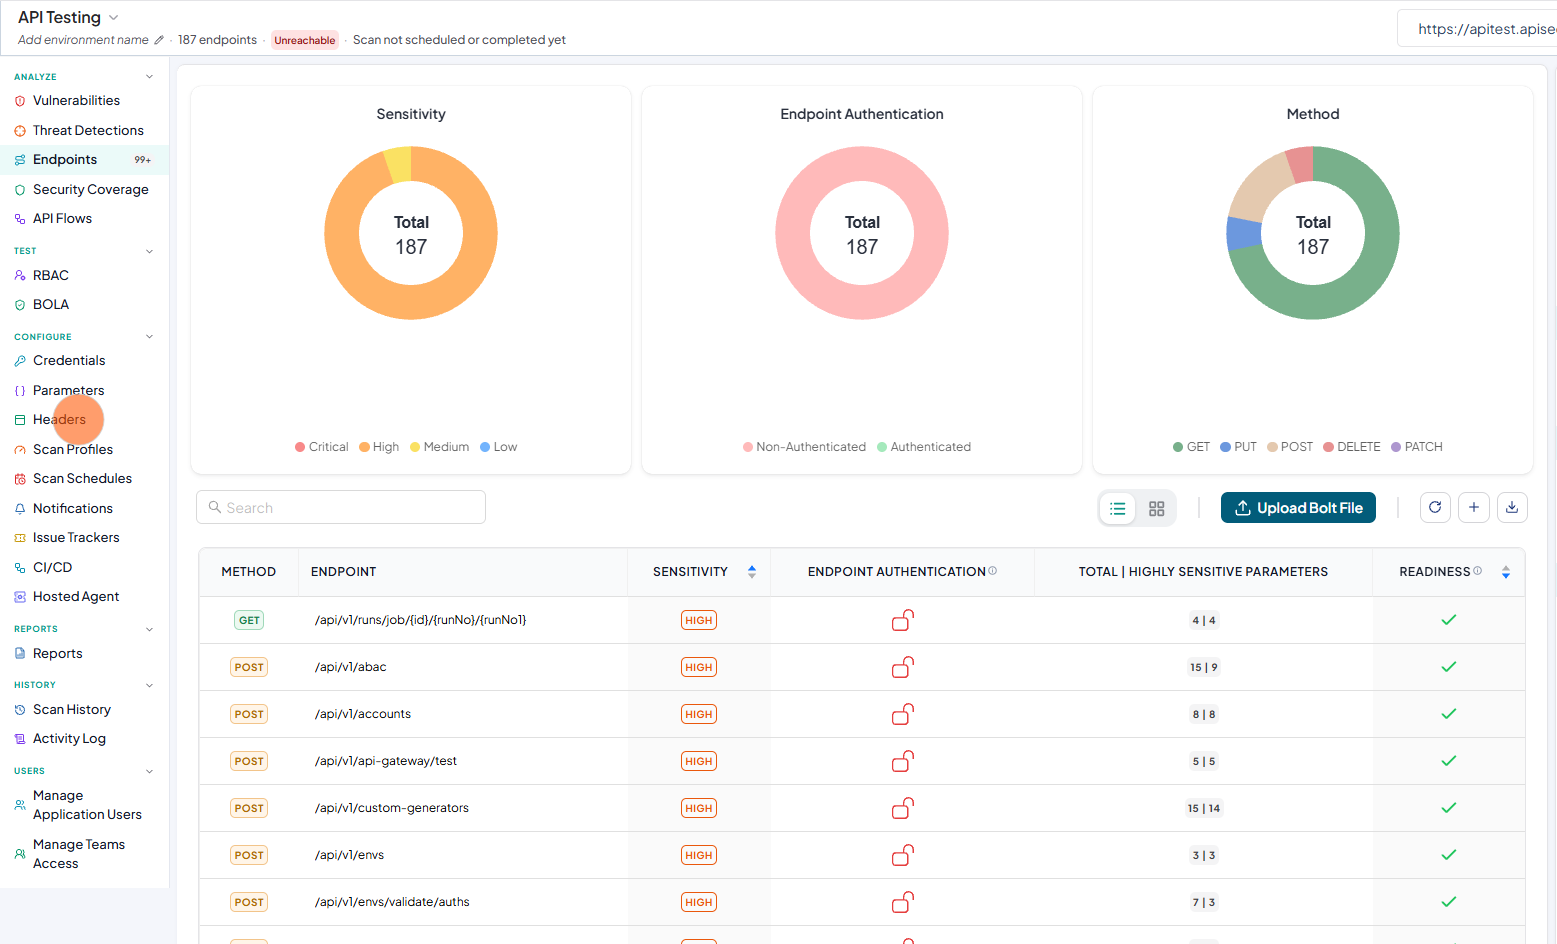
Click on the Headers
-
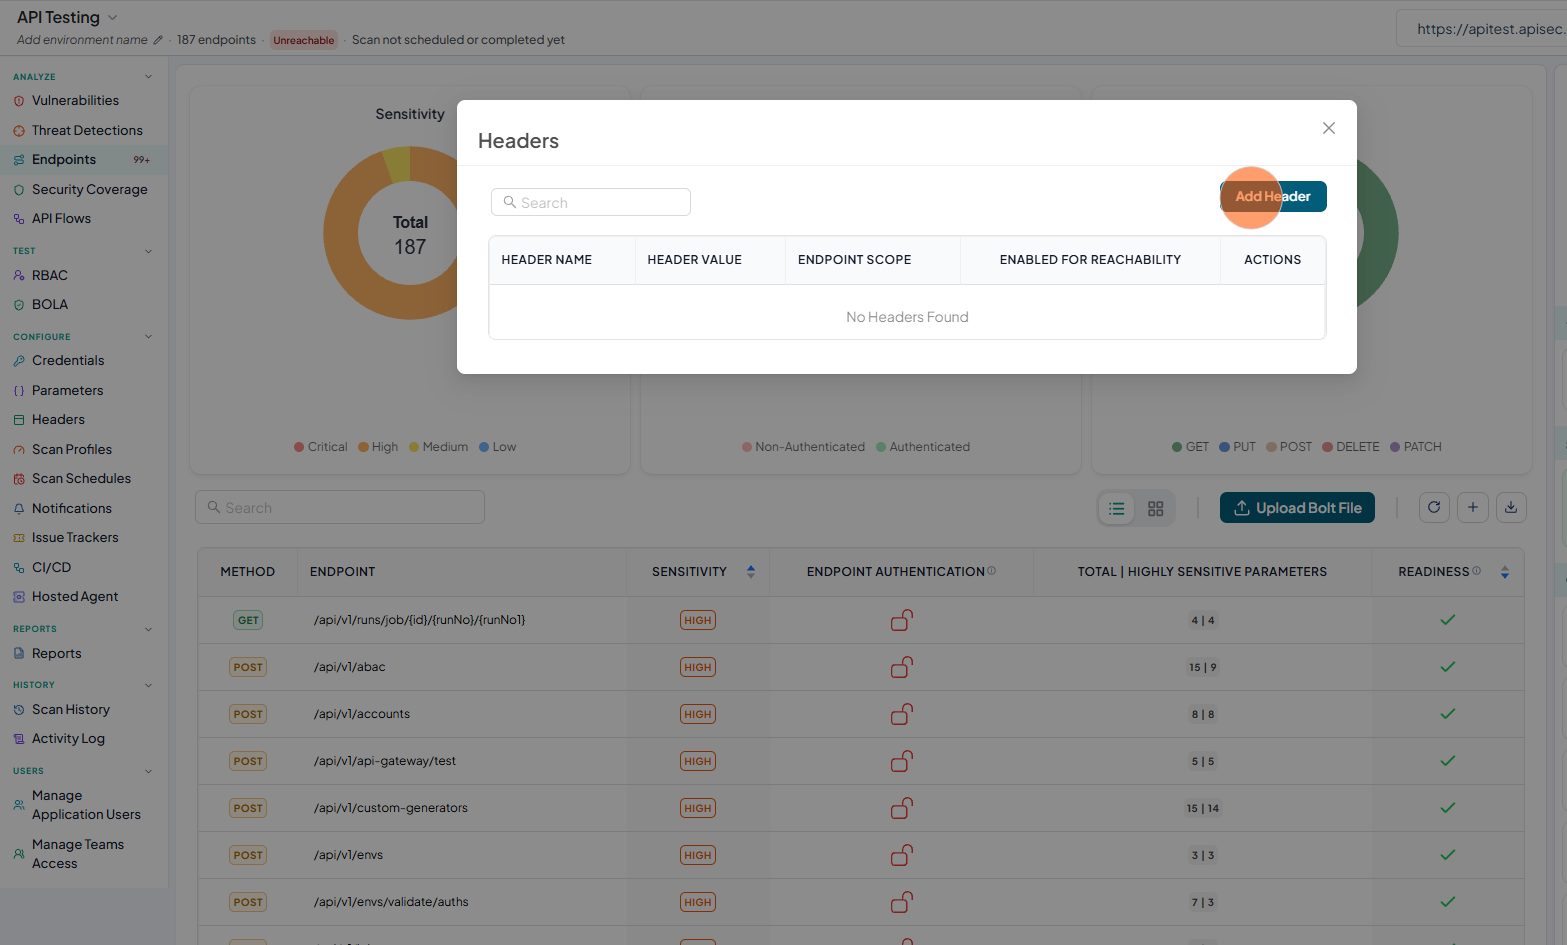
Click on the Add Headers.
-
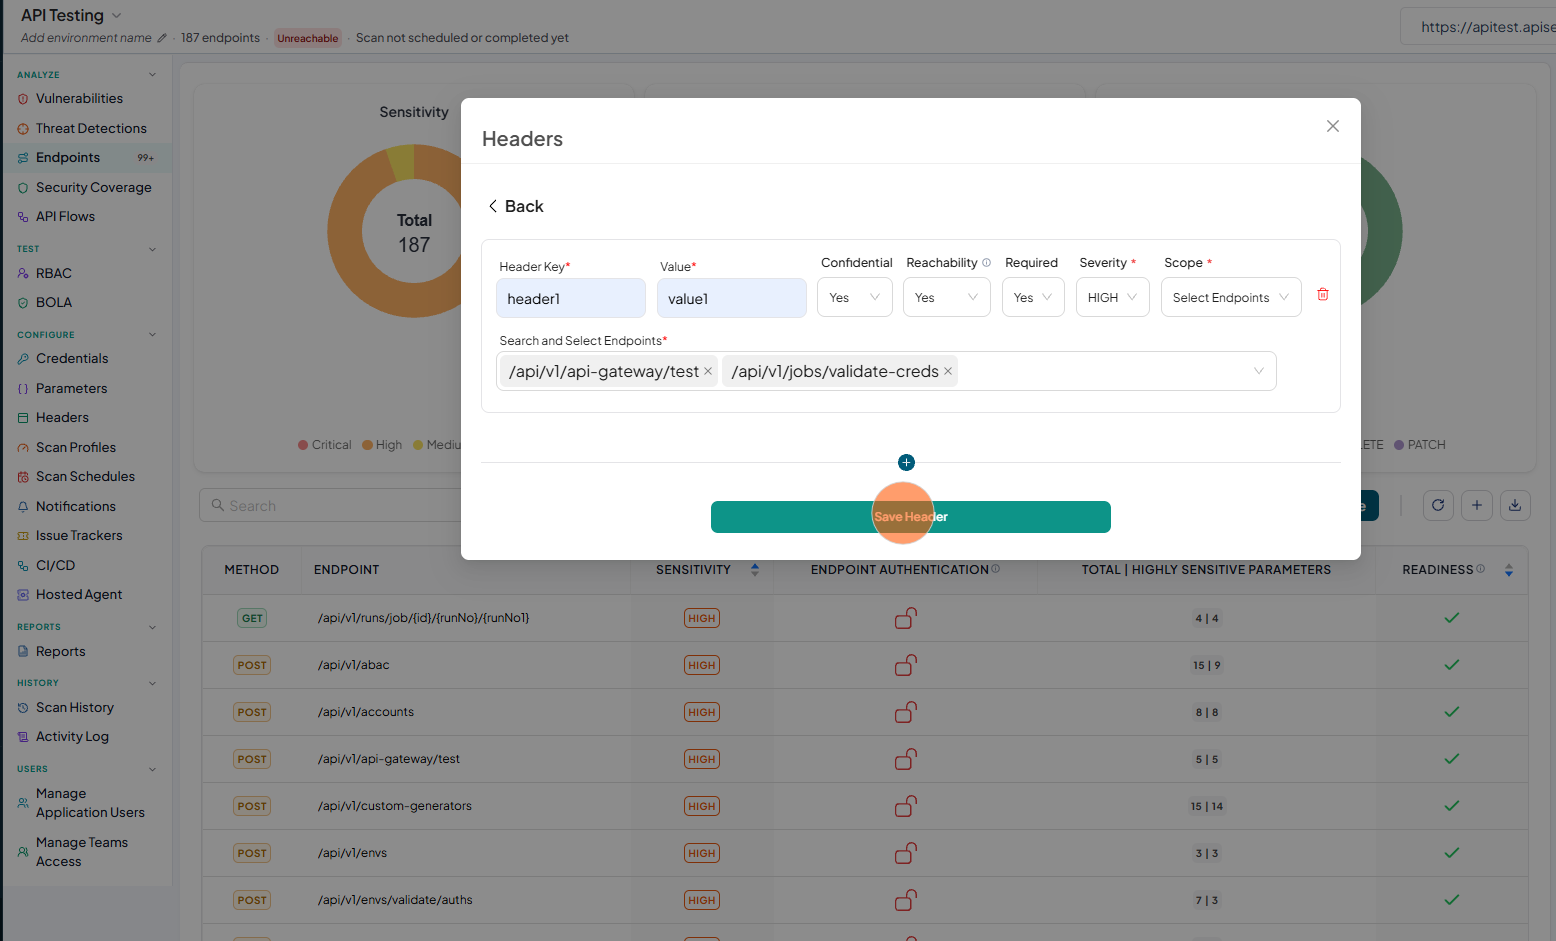
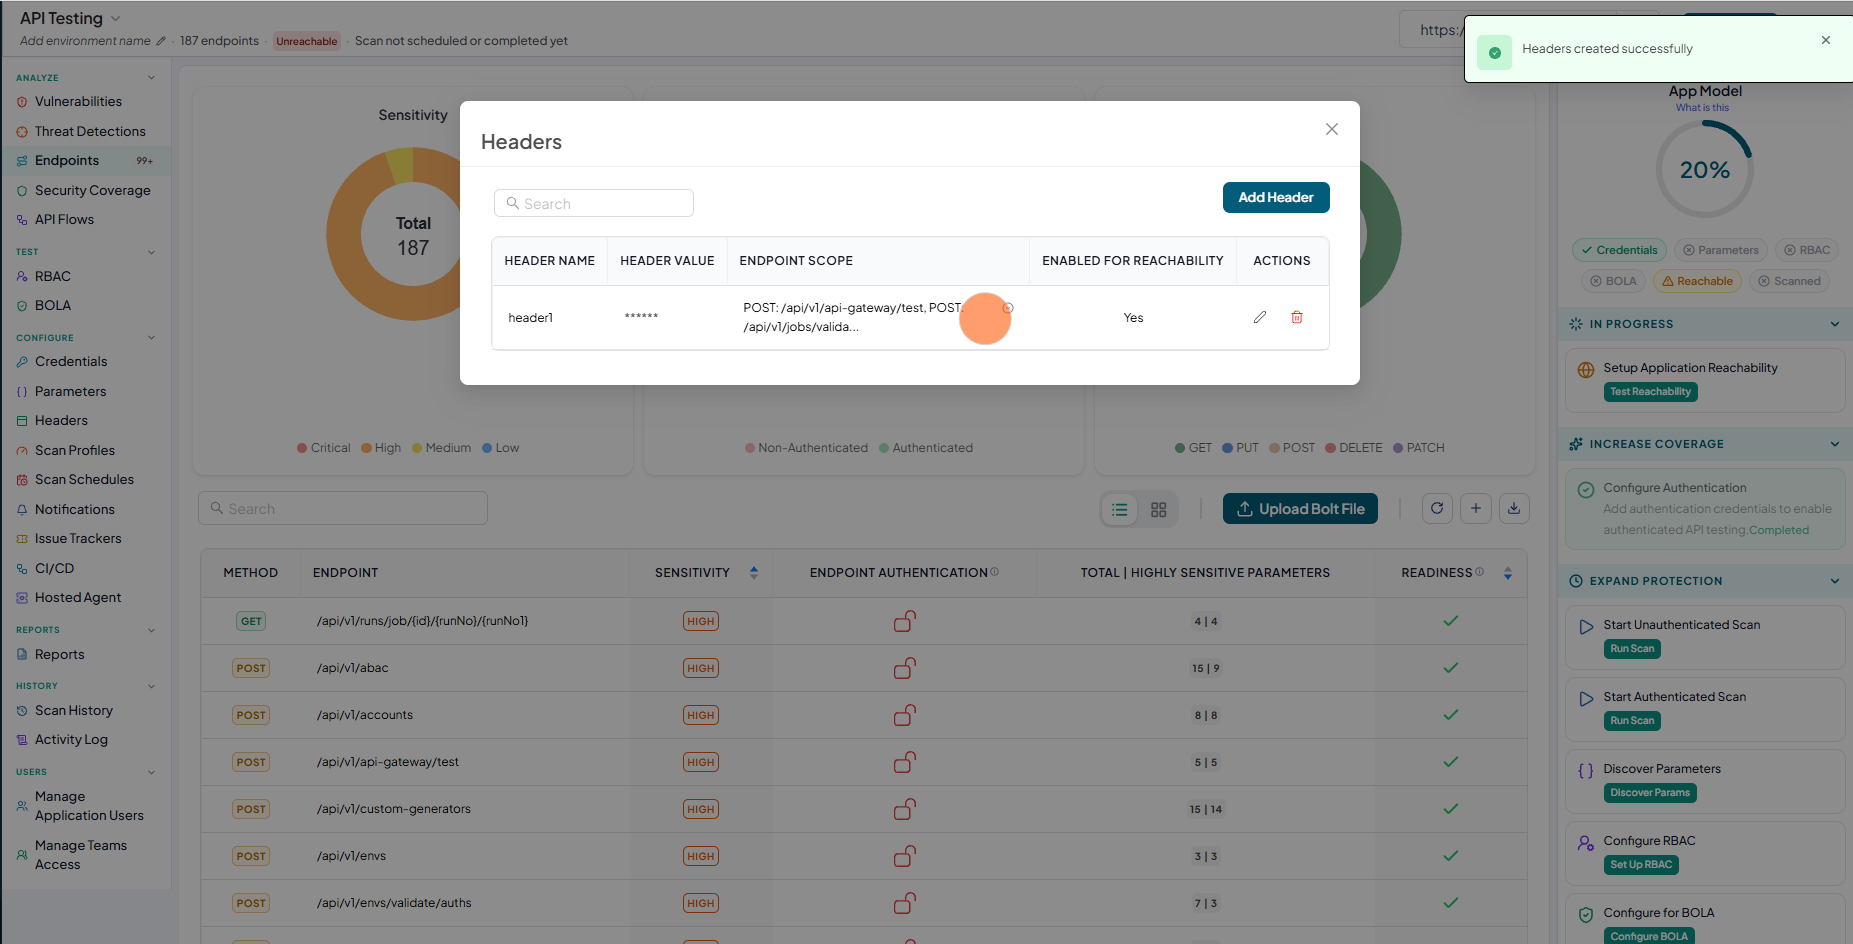
In the Form, Add Header, value and select confidential to hide Sensitive values from endpoint details, logs, and other users, select Enable for Reachability to "Yes", and select one or more endpoints from the dropdown and click on Save Header
-
Header created successfully and the new headers now appears in the manage headers list.
-
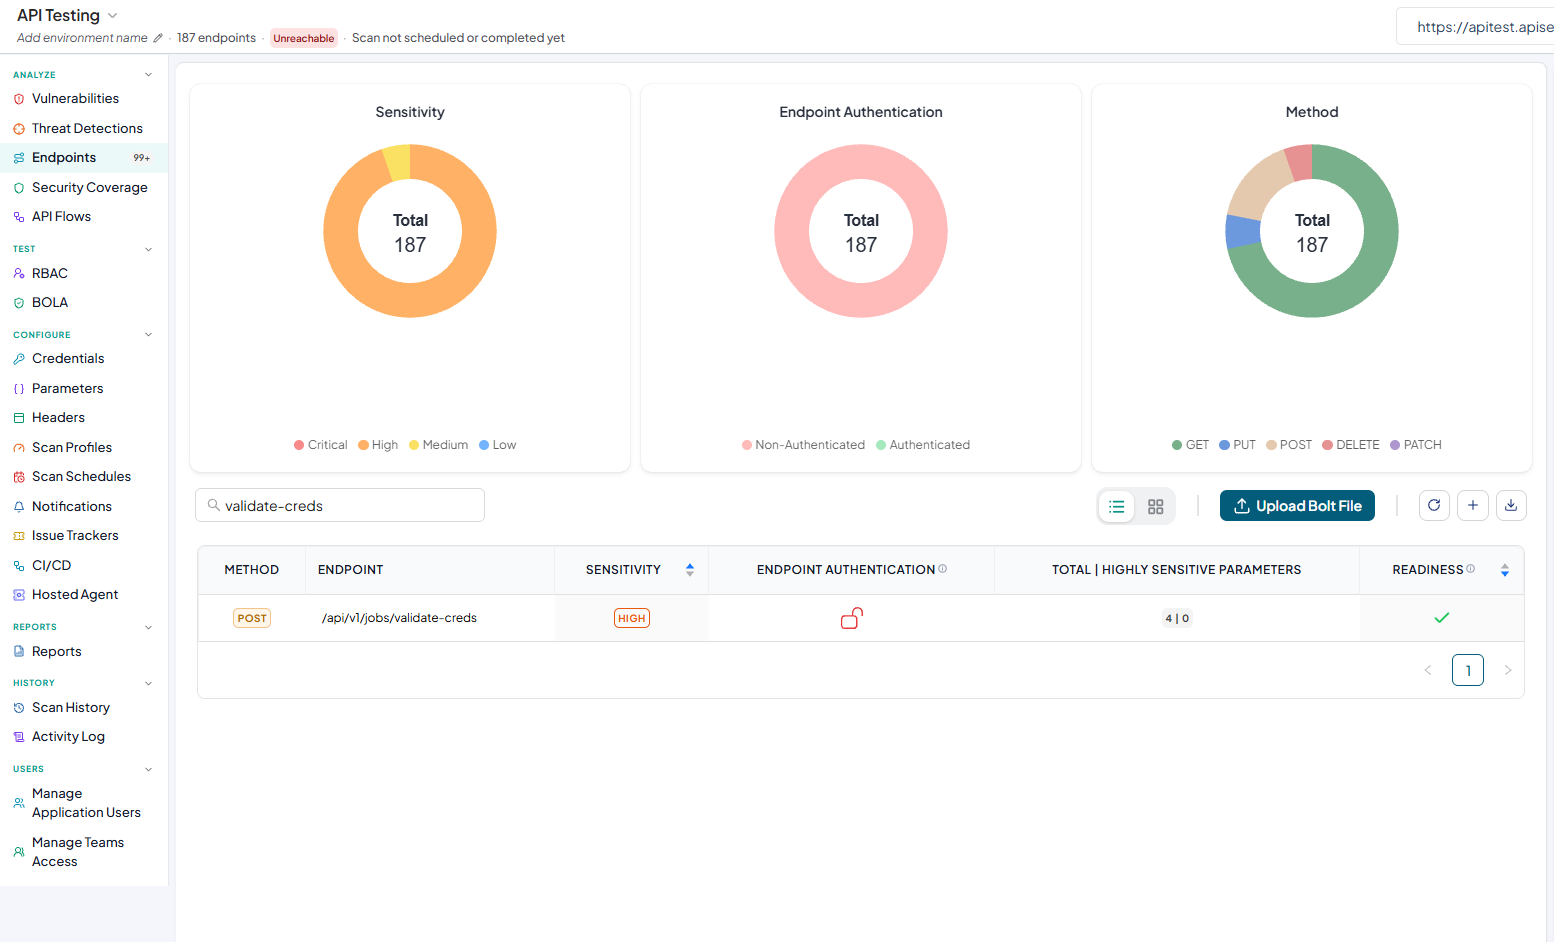
Search the added endpoint in endpoint search field
-
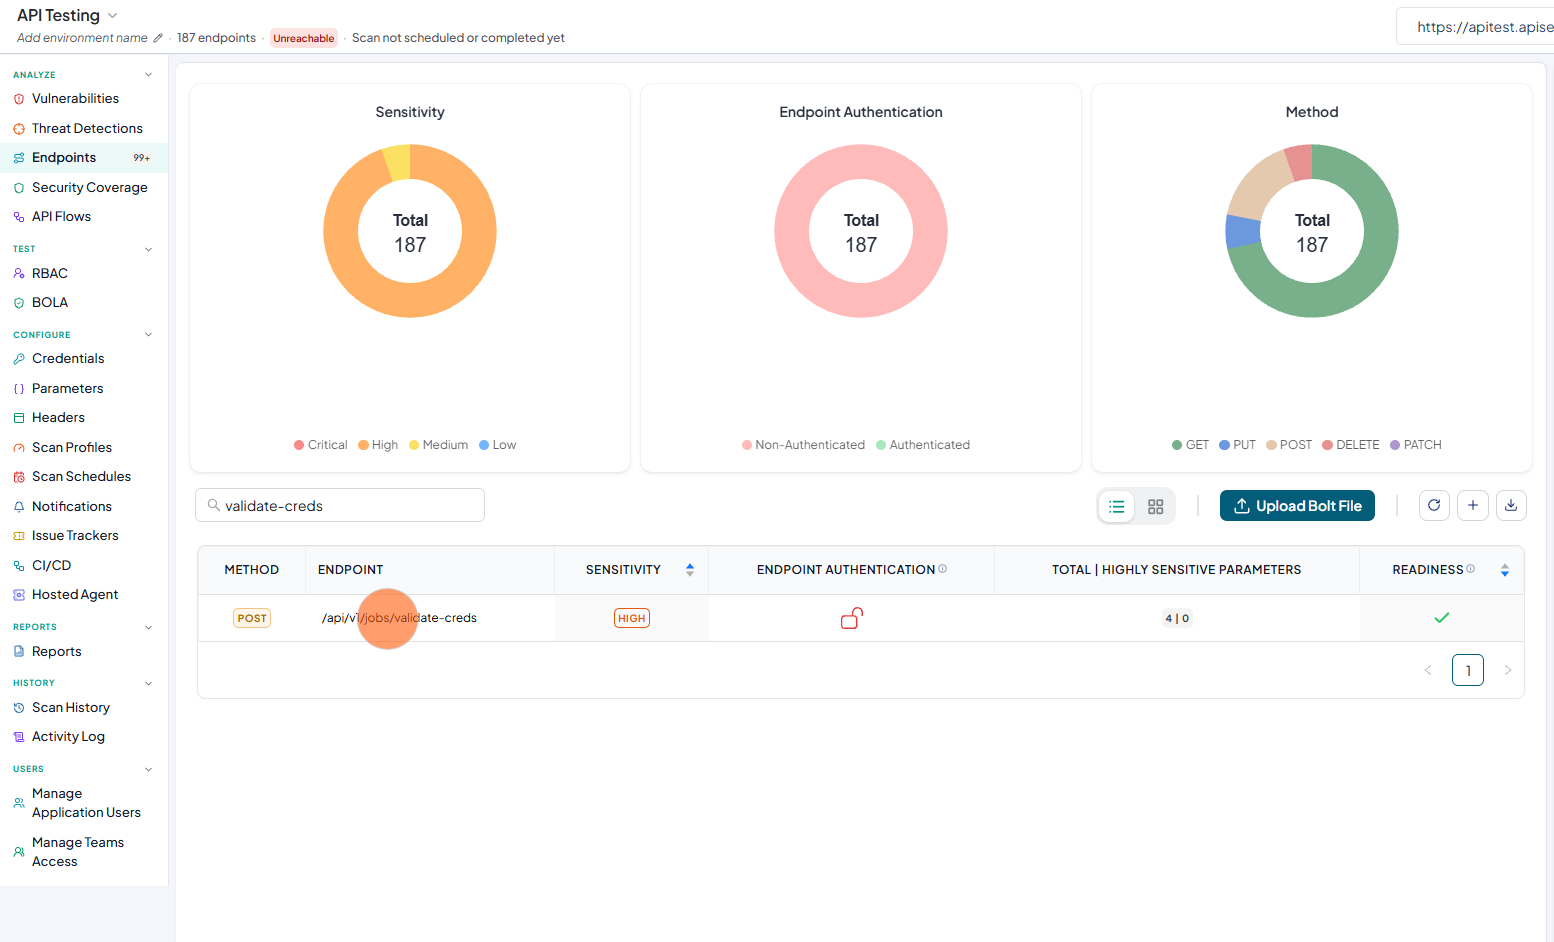
Click an endpoint in the search results to view its details.
-
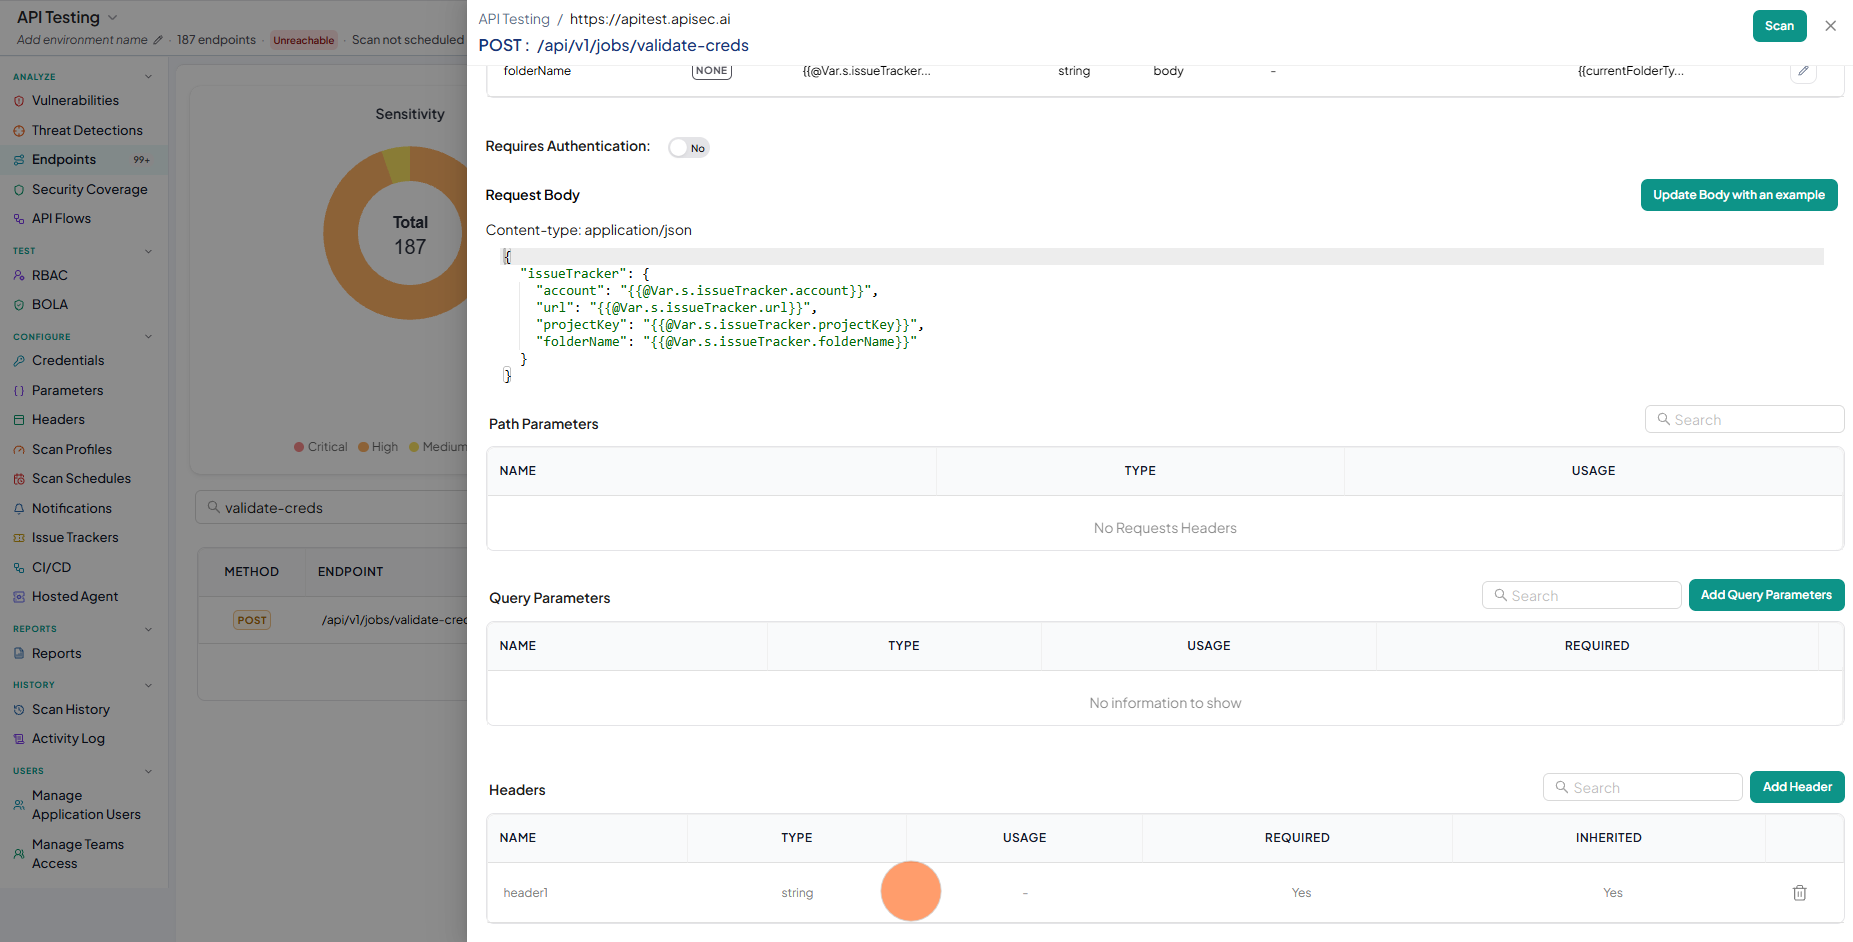
You will find the created header in the endpoint details
-
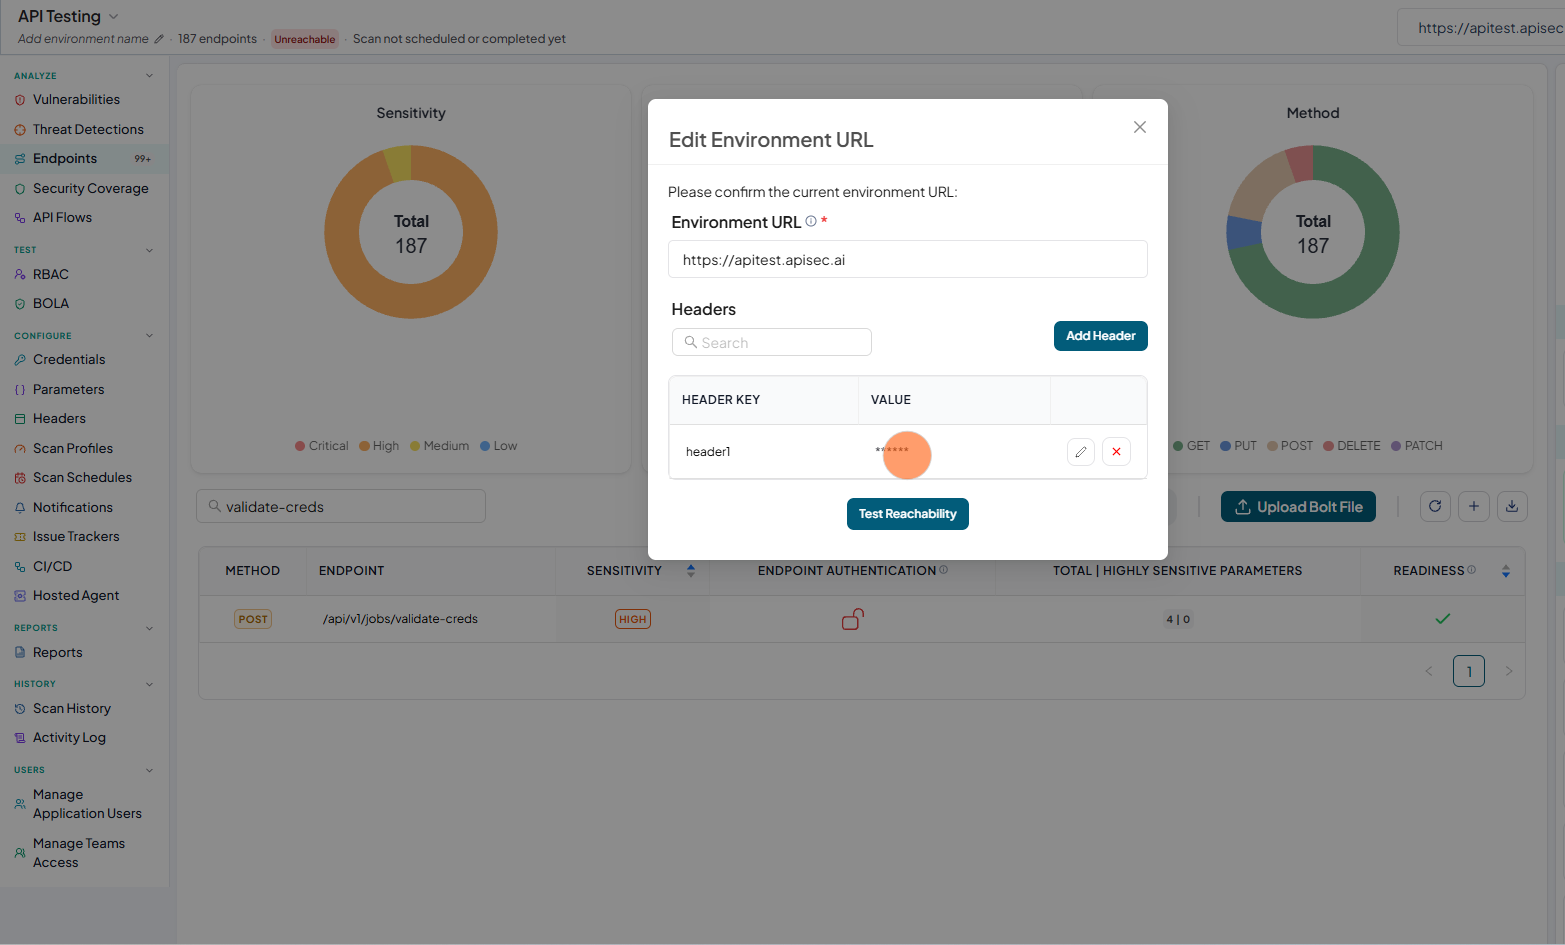
Click the three-dot menu next to the selected environment and choose Edit Environment.
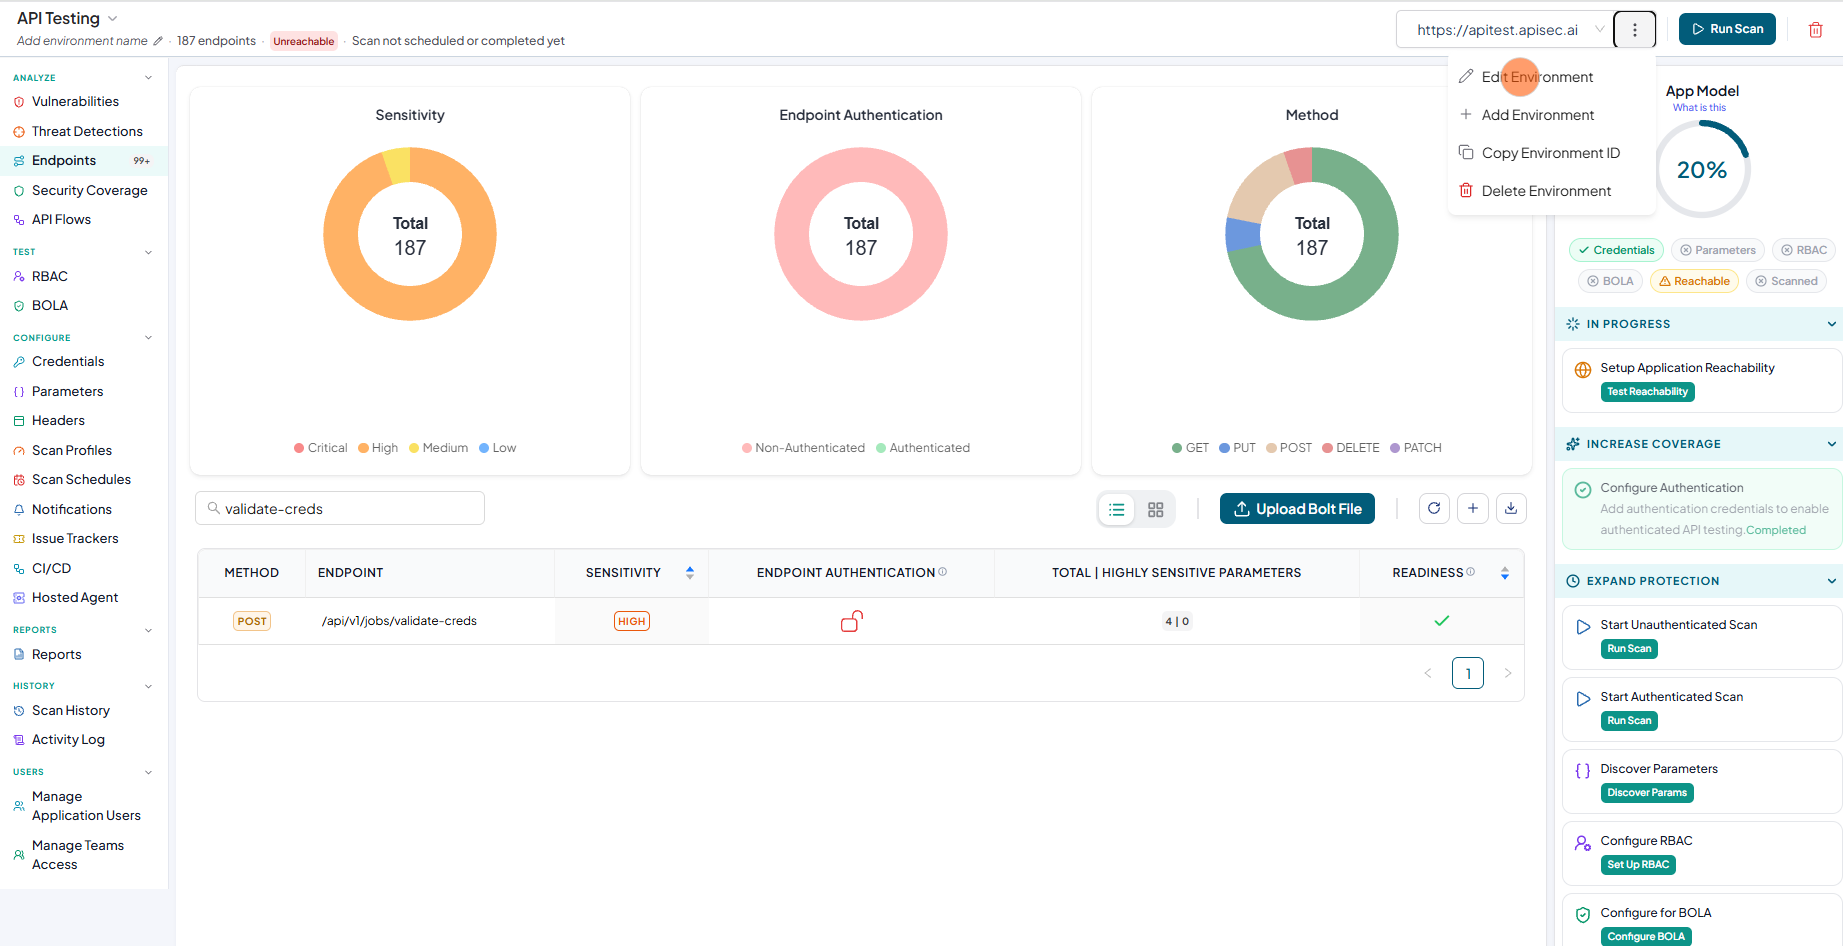
-
You will find the created header if Enable for reachability is yes in the edit instance list
Edit header
-
Open your browser and visit: https://<your-tenant>.apisecapps.com
-
Click the required application.
-
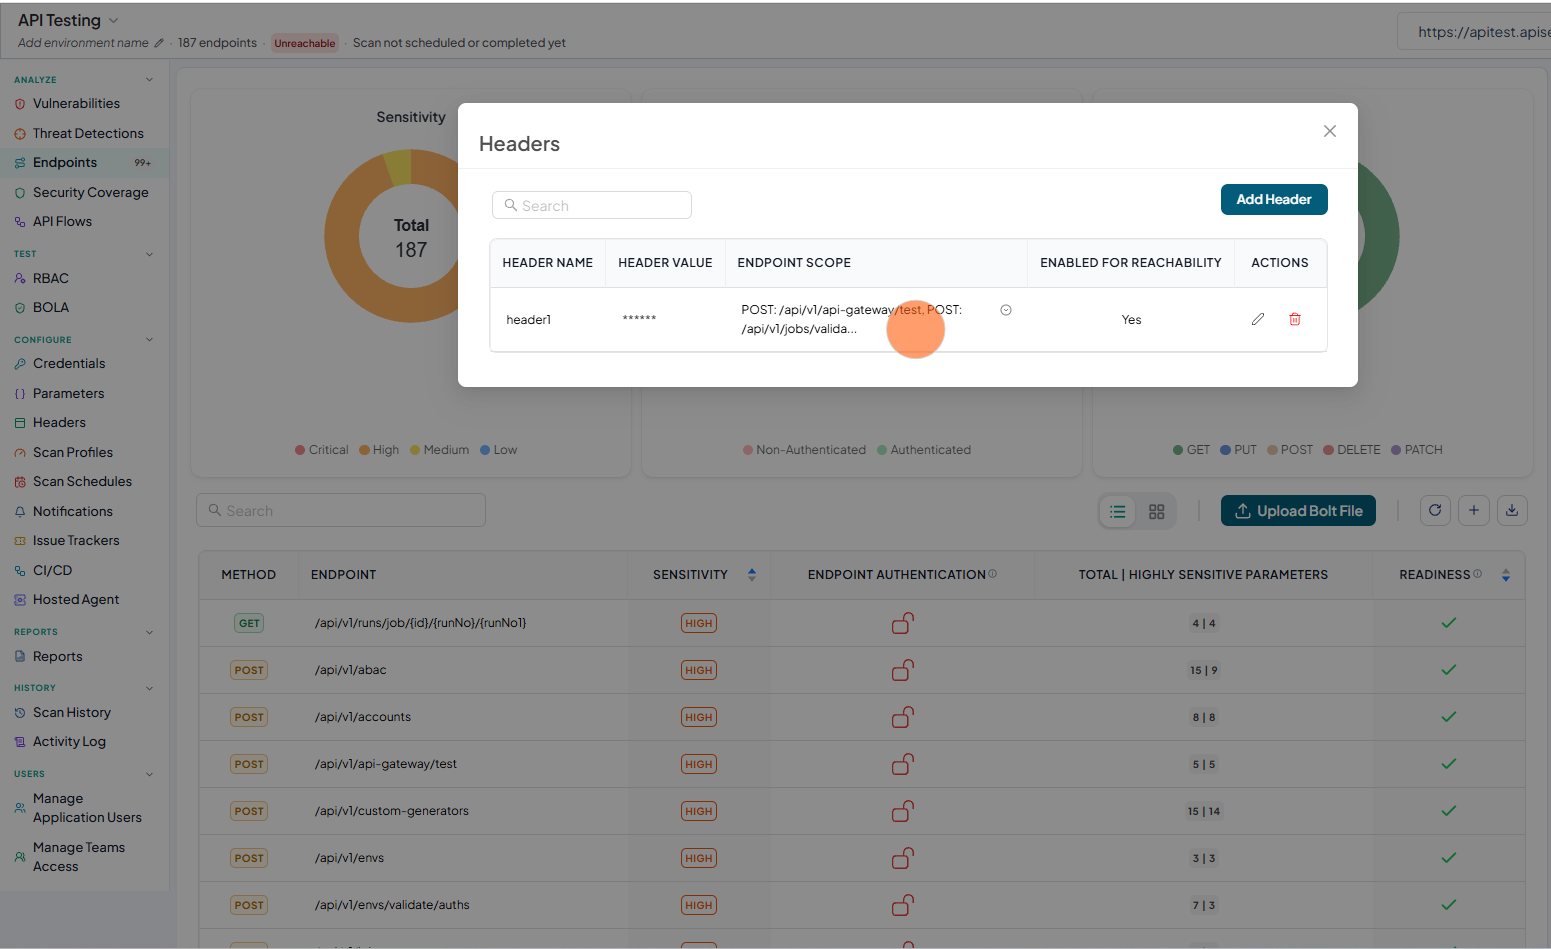
Click on the Headers
-
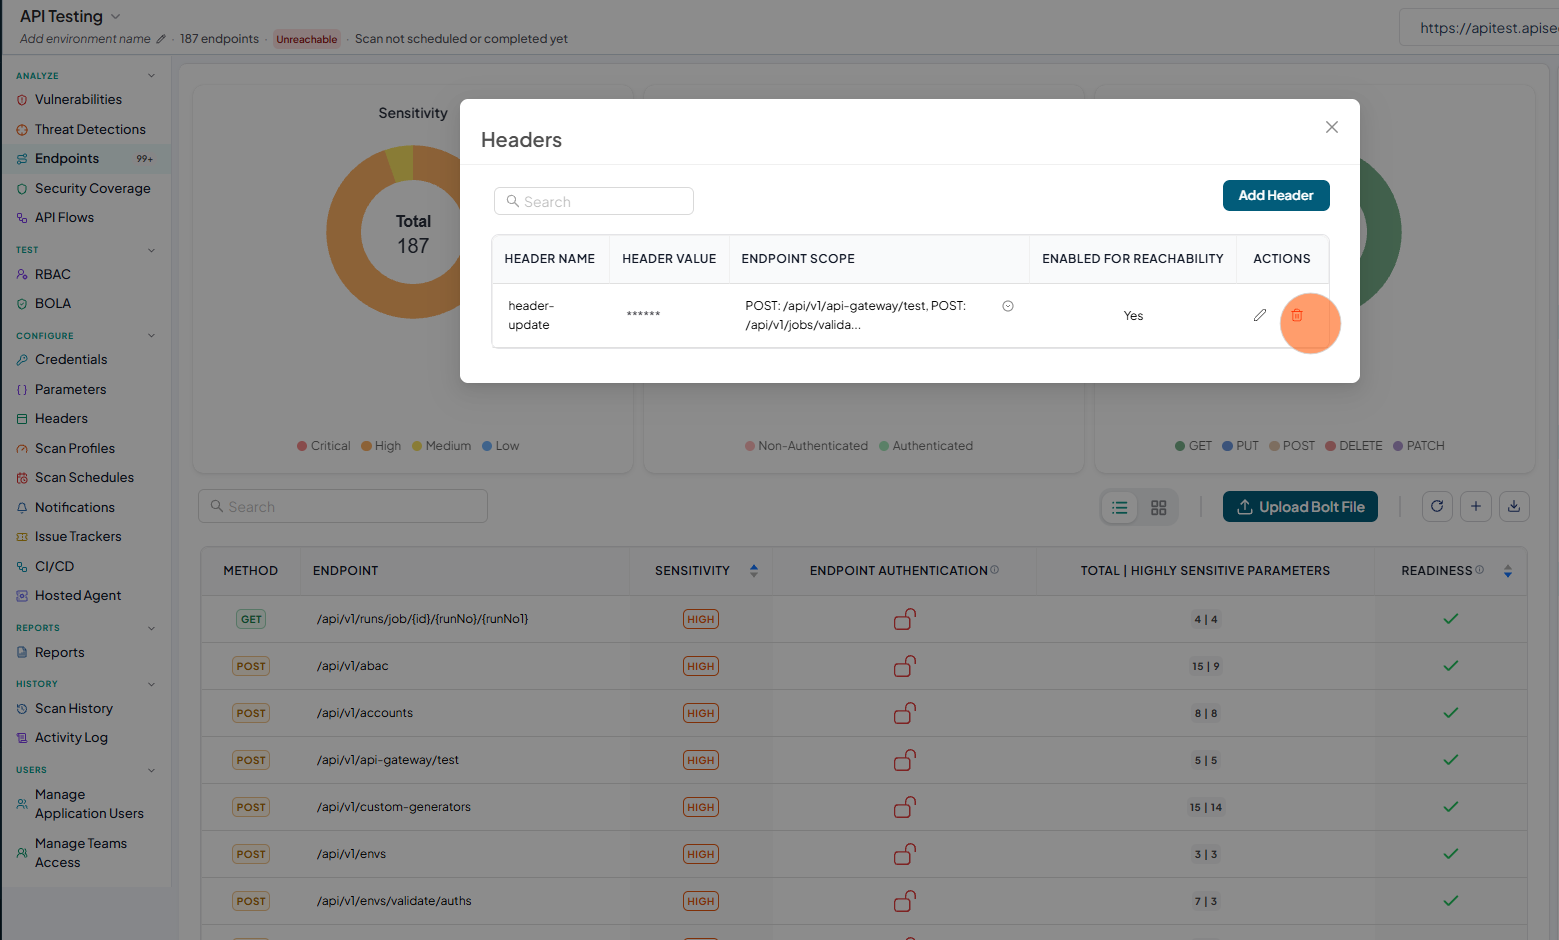
Now you will see list of headers.
-
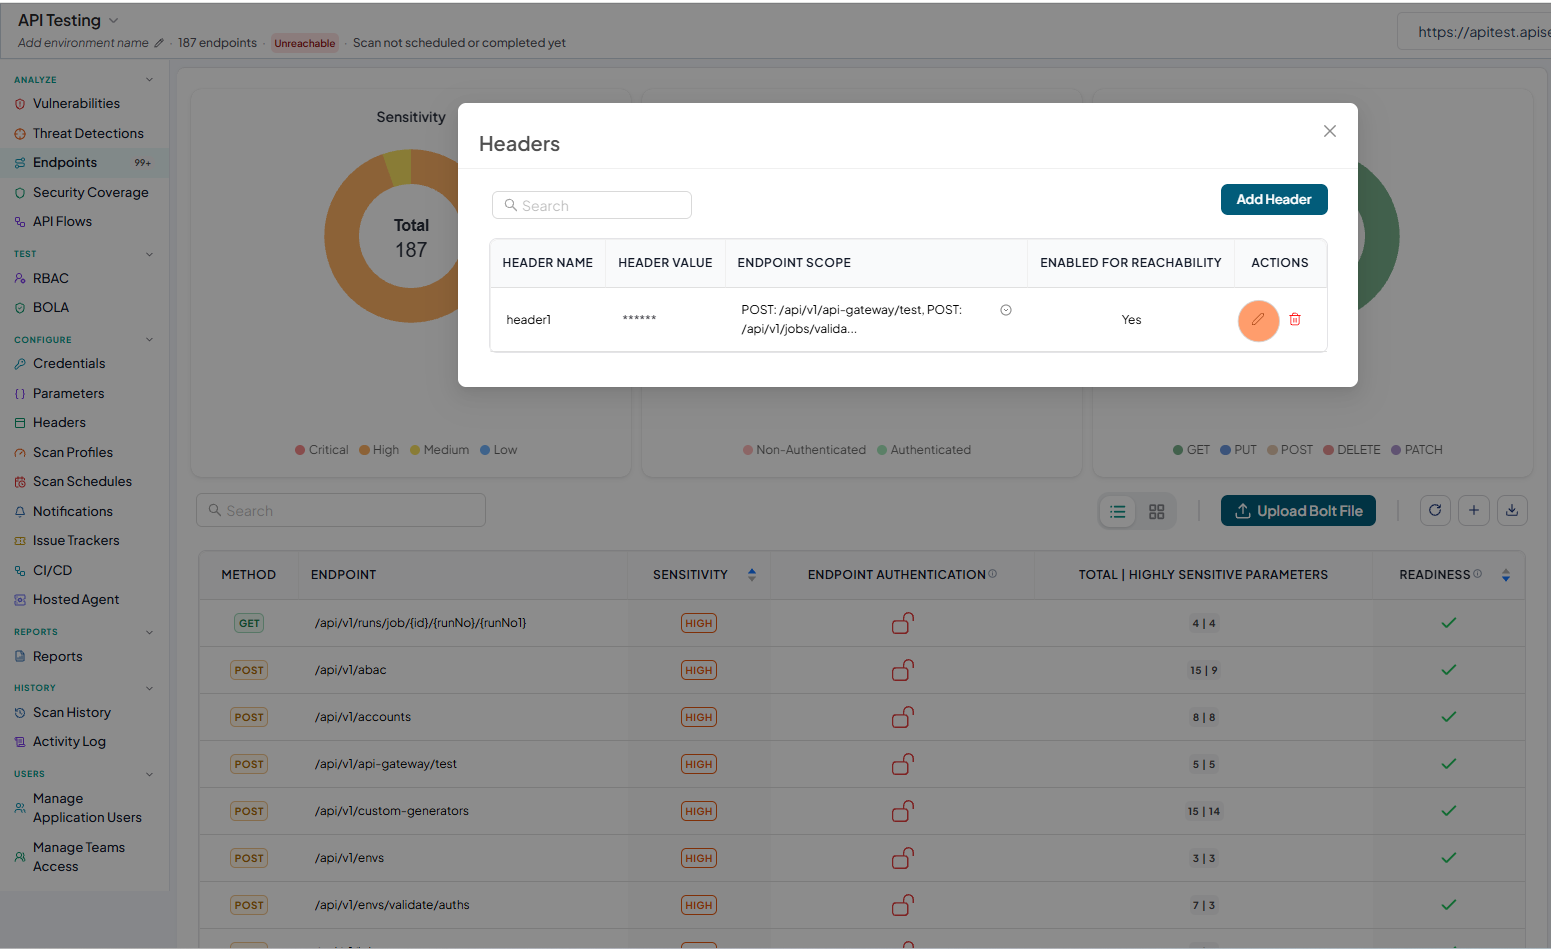
Click on the Pencil icon from desired header from the list to edit.
-
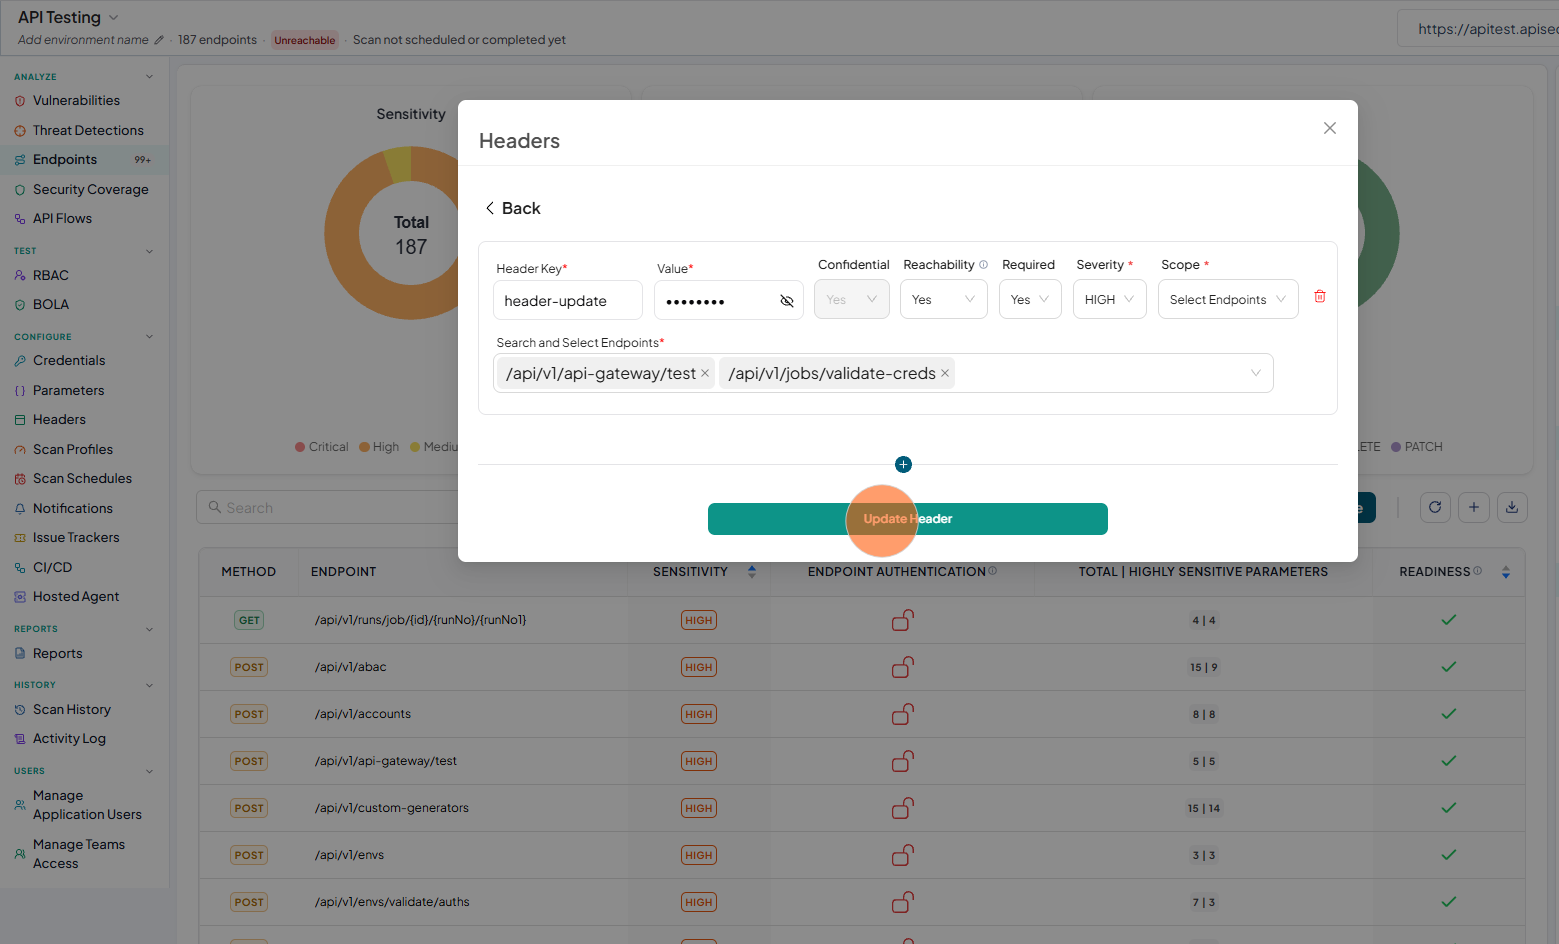
Now you will see the header form with all the details.
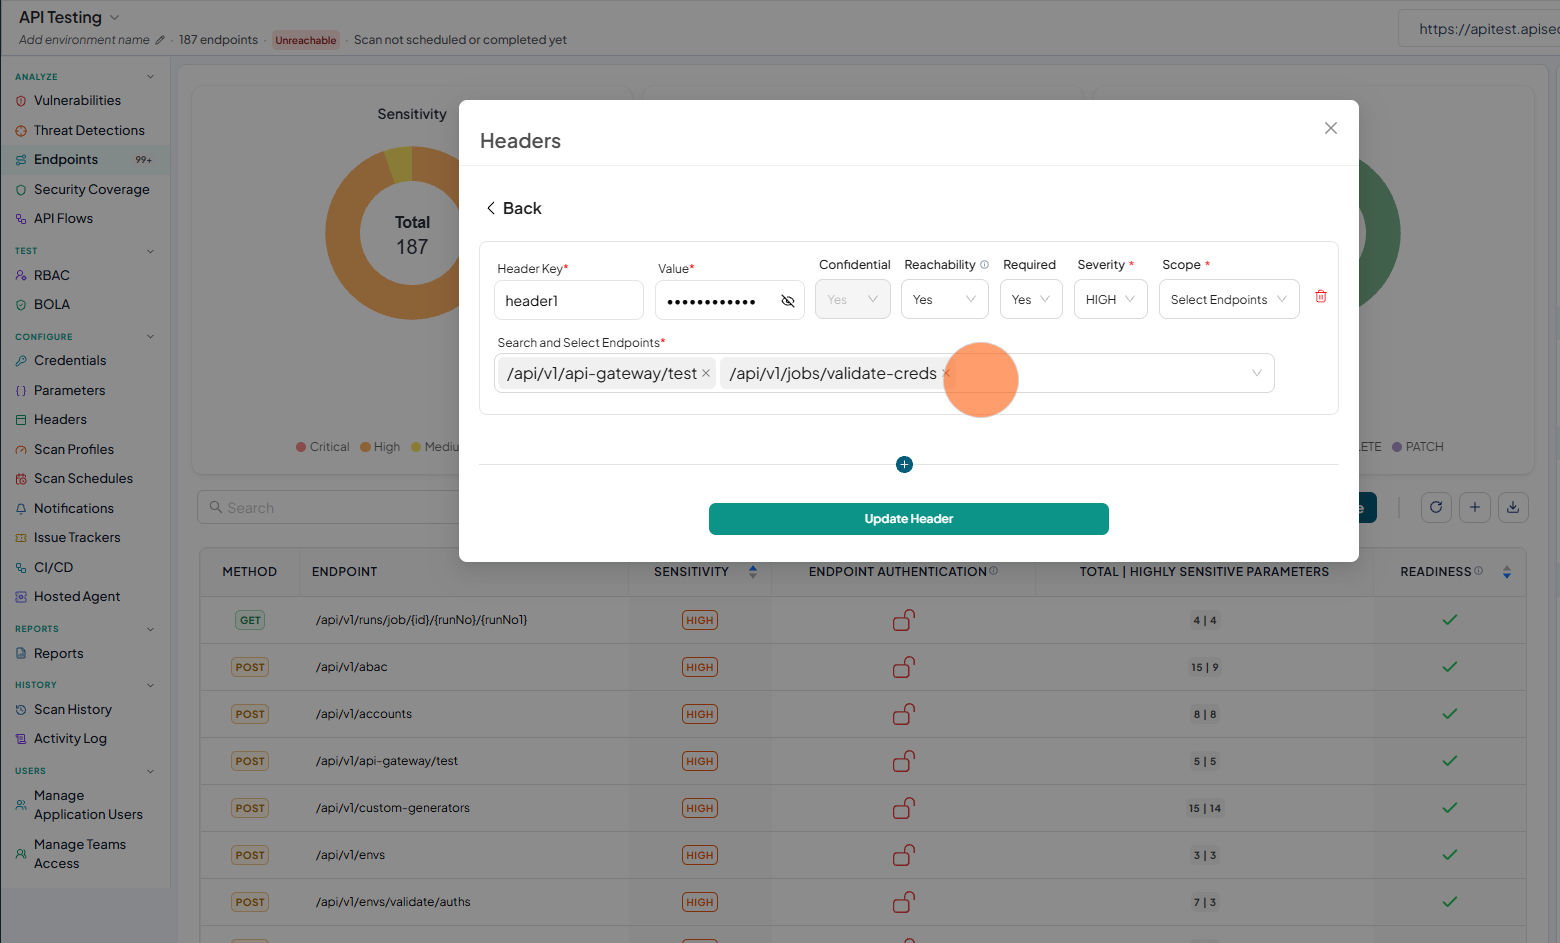
-
You can change the Header Key , Value and other fields and click on the Update header.
Delete header
-
Open your browser and visit: https://<your-tenant>.apisecapps.com
-
Click the required application.
-
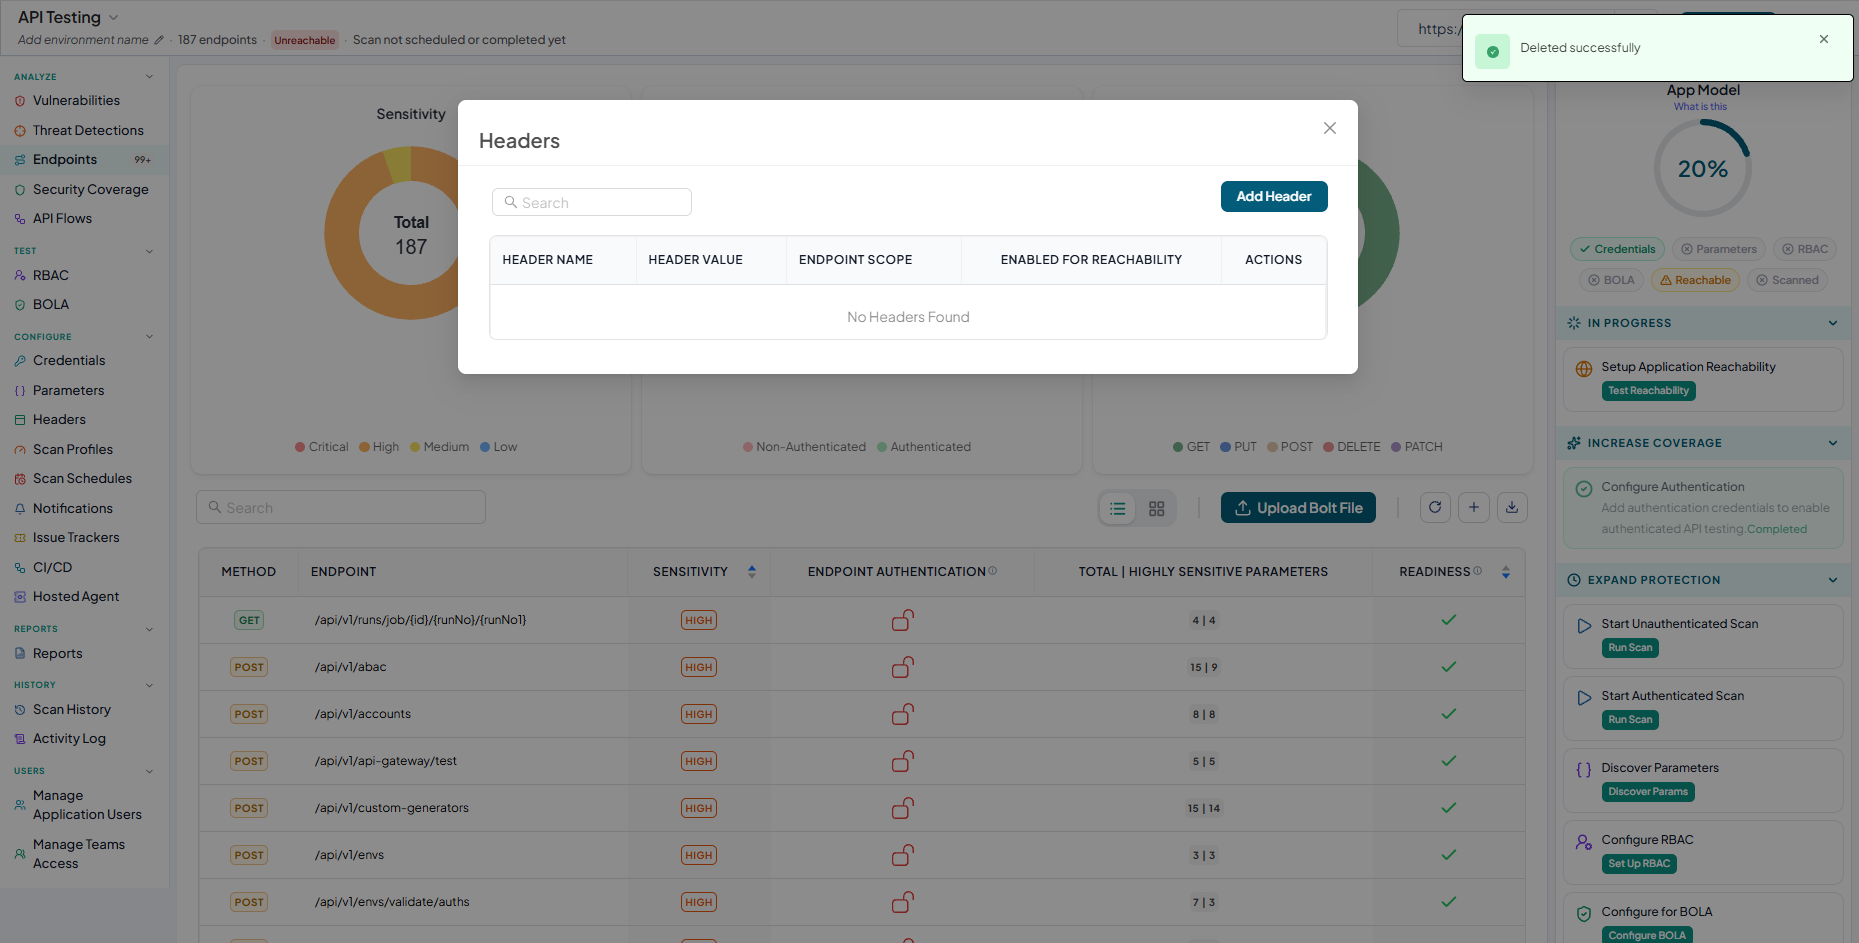
Click on the Headers
-
Now you will see list of headers.
-
Click on the Delete icon from desired header from the list to delete.
-
Click "Delete" to confirm
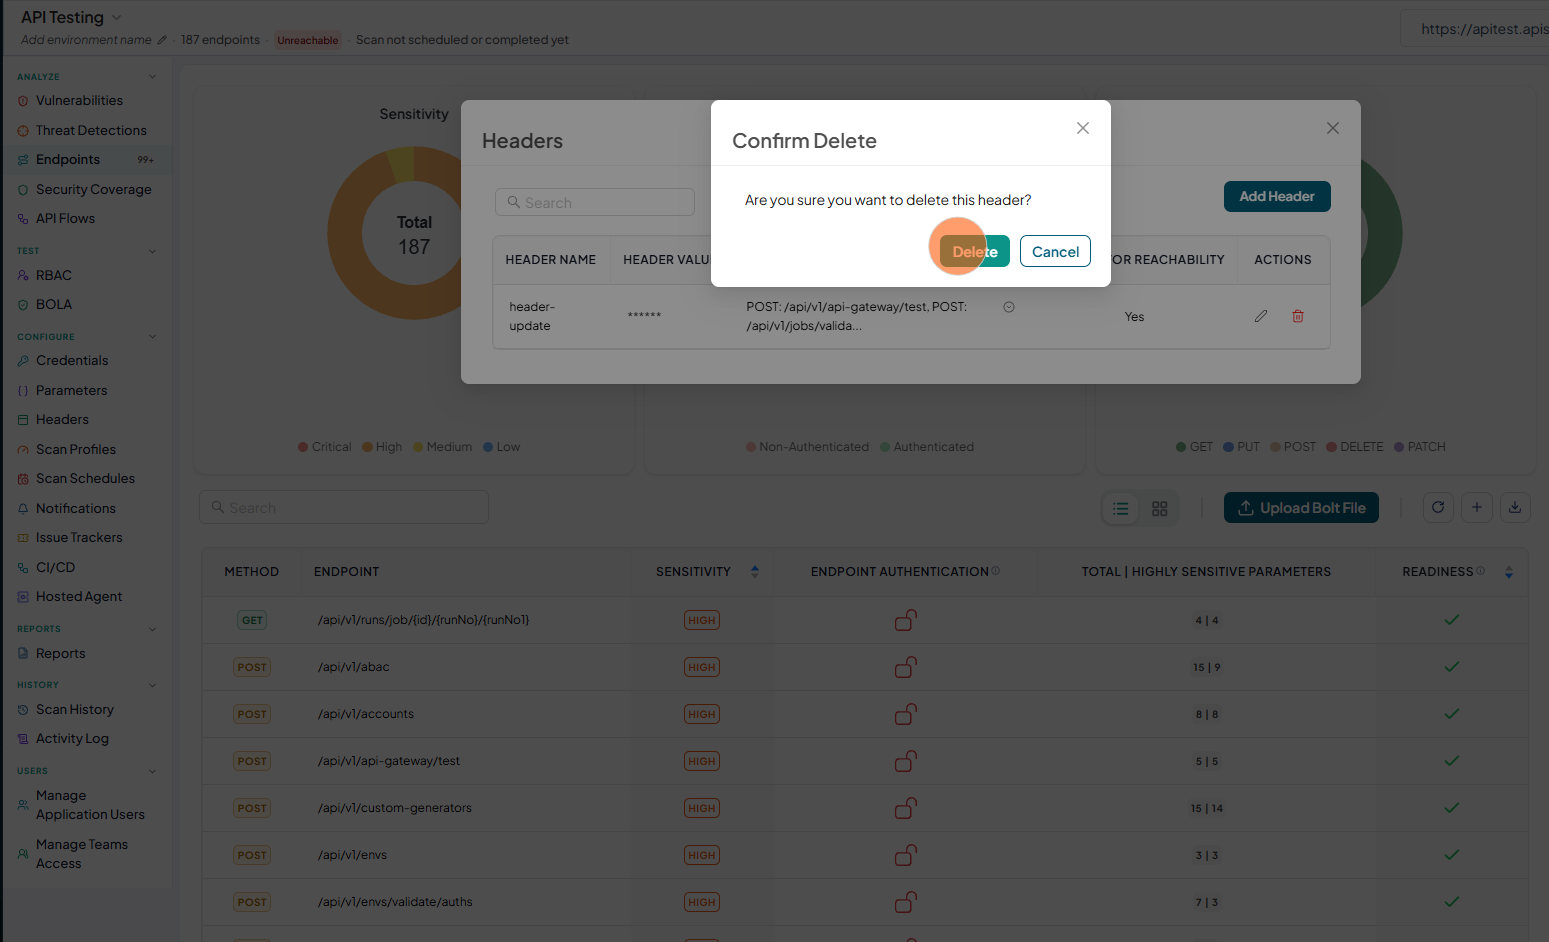
-
Header deleted successfully
user role with View permissions can not add,edit and delete headers in shared application.